准备工作
1 | lsb_release -a # 查看系统版本 |
开始安装
1 | rpm -Uvh mysql80-community-release-el7-2.noarch.rpm |
启动服务
1 | service mysqld start |
Mysql服务启动后发生如下事件
mysql server初始化
An SSL certificate and key files are generated in the data directory.
The validate_password plugin is installed and enabled.
A superuser account
'root'@'localhost'is created. A password for the superuser is set and stored in the error log file. To reveal it, use the following command:1
2
3
4
5
6
7grep 'temporary password' /var/log/mysqld.log
可以使用如下方法更新密码
mysql -uroot -p'*****'
ALTER USER 'root'@'localhost' IDENTIFIED BY 'MyNewPass4!';
update user set Host = '%' where user ='root'; # 开启远程登录
flush privileges;
安全相关设置
- 在ECS管理页面添加安全组规则
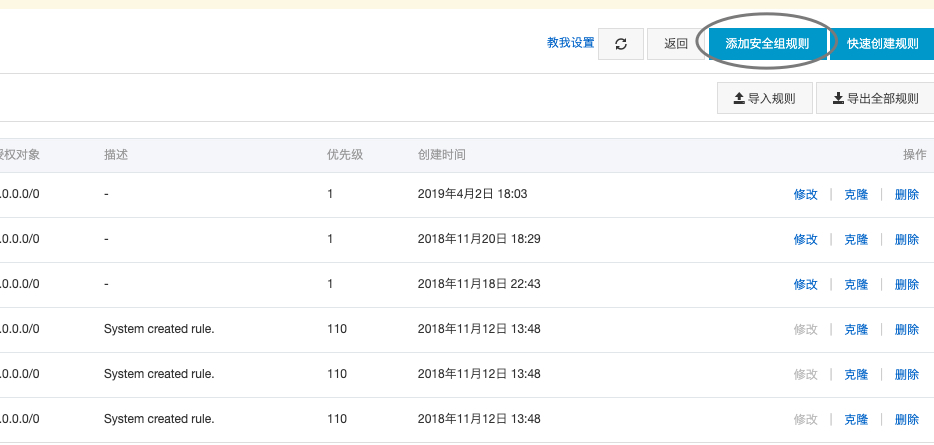
- 添加3306 入口规则,无需启用防火墙